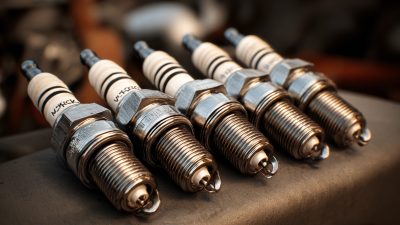
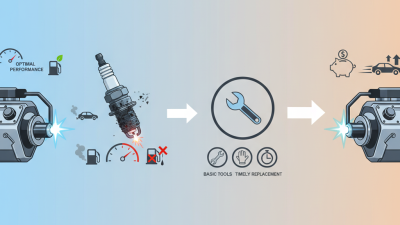
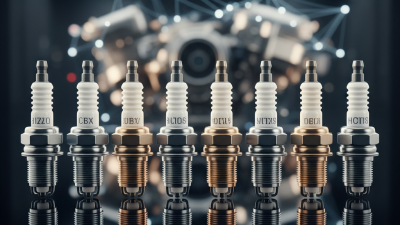
Choosing spark plugs can seem like a small maintenance decision. It is not. The wrong heat range, thread reach, or electrode design may cause poor starting, misfires, or engine damage. The owner’s manual is the best starting point, but it does not answer every question about an older engine, modified setup, or demanding driving conditions. The details matter.
Engine researcher John B. Heywood is known for his work on internal-combustion engines. A fair paraphrase of a principle supported by that work is: “A spark plug must suit the engine’s combustion needs and operating conditions.” This is a paraphrase, not a verbatim quotation. It points to a useful habit: match the plug to the engine, not to a sales claim or a shiny package. Check the vehicle’s exact specifications. Compare the heat range, thread size, reach, and seat type. Then consider electrode material, driving conditions, and whether a change from the factory recommendation is actually justified.
Small mismatches can matter. A plug that looks nearly identical may have a different reach. That difference is easy to overlook. So is the gap. In this guide, seven practical tips will help you compare spark plugs, read product details, and spot when professional advice is worthwhile. Some engines have special requirements, and a general guide cannot replace the manufacturer’s specifications. Even experienced owners can make assumptions; checking twice is wiser than learning from a misfire.
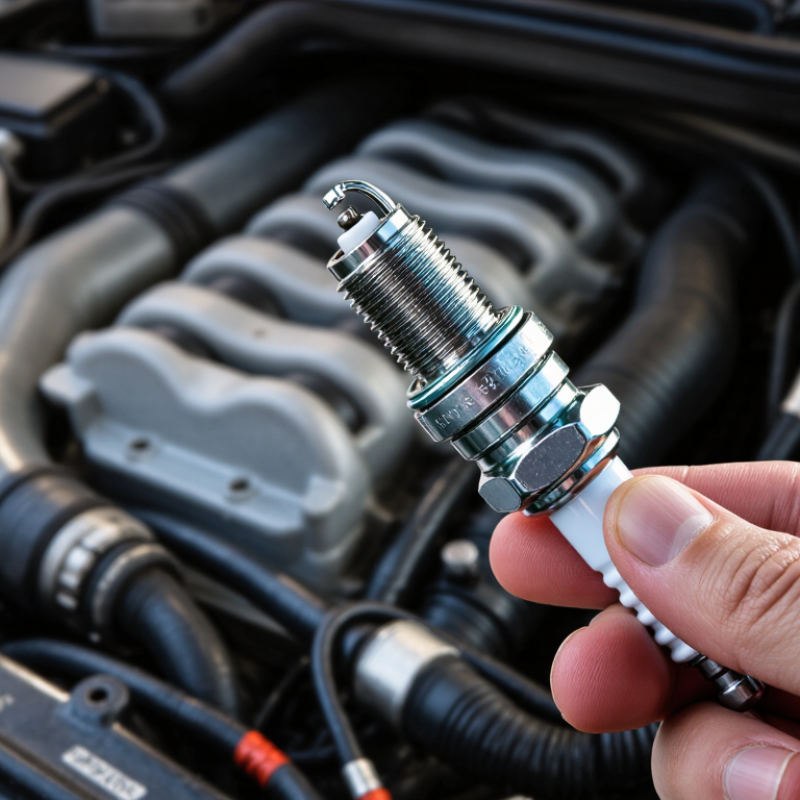
Before choosing a spark plug, identify the engine precisely. Check the owner’s manual or service information for the vehicle’s year, engine size, and engine code. Two engines in the same model can require different plugs. The under-hood emissions label may help confirm engine details, but it does not always list plug specifications.
Match more than the thread size. Confirm the specified reach, seat type, heat range, and resistor design. The gap matters too: use the measurement listed for your engine, not a generic setting. Some plugs come pre-gapped, but shipping or handling can still affect the electrode. Check carefully. A common garage mistake is copying the number from an old plug without verifying it. That plug may have been incorrect already.
Use a reliable parts catalog only as a cross-check against the vehicle’s service data. If the engine has been modified, standard specifications may no longer apply; ask a qualified technician to confirm compatibility. Install plugs with the engine cool, and follow the specified tightening method and torque. Too loose can cause poor sealing. Too tight can damage the cylinder head. Small details count. If two sources disagree, pause and verify the engine code before buying. I might be tempted to trust the familiar-looking plug, but appearance alone proves very little.
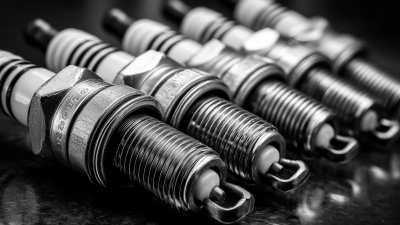
Electrode material affects how a spark plug handles heat, wear, and repeated ignition. Copper conducts heat well, but its softer electrode generally wears faster. Platinum and iridium resist erosion better, so they can maintain a narrow firing tip longer. That matters in engines where access is difficult and plug changes take time. Still, expensive materials are not automatically the right choice.
Start with the vehicle maker’s specified plug type and heat range. A fine-wire center electrode can require less voltage to create a spark, which may help cold starts and steady idling. Check the specified gap, too. A gap that is too wide can strain the ignition system; one that is too narrow may weaken combustion. Don’t force a delicate electrode into position. It’s an easy mistake.
Design matters as well. The ground electrode’s shape and position influence how the spark is exposed to the air-fuel mixture. Some plugs use multiple ground electrodes, but more electrodes do not necessarily mean a stronger spark. Look for a design intended for the engine, then compare it with the old plug. Rounded edges, heavy deposits, or a bent ground strap can reveal wear or incorrect handling. Even then, a plug’s appearance alone cannot diagnose every engine problem.
Approximate melting points of the pure reference metals are shown—not service-life ratings for spark plugs. Copper is commonly used in an electrode core for heat conduction, while the firing tips may use nickel-based alloys, platinum, or iridium. Electrode design and vehicle specifications also matter, so choose a plug that meets the engine manufacturer’s requirements.
A spark plug’s heat range describes how quickly its firing end transfers heat to the cylinder head; it does not mean spark strength. SAE International technical literature commonly places the useful firing-end temperature near 450–850°C. Below roughly 450°C, deposits may build up; excessive heat near the upper end can raise pre-ignition risk. These are working ranges, not a substitute for your engine’s specified plug.
Match the range to real driving, not just the vehicle’s nameplate. Long highway trips keep the engine warm, while repeated short journeys and stop-start traffic may leave the plug cooler and dirtier. Towing, sustained high speeds, or a modified engine can increase thermal load.
A colder plug sheds heat faster; a hotter one retains more. The numbering differs among manufacturers, so compare specifications, not numbers alone. Small detail, big difference.
After a demanding drive, inspect the firing end for heavy deposits or signs of overheating, but read it alongside the correct service guidance. It is easy to blame the plug too quickly; mixture, ignition timing, and engine condition can also affect its appearance.
Tip: Check the plug size against the engine’s service information, not just the old plug’s appearance. Similar-looking plugs may have different thread diameters or pitches. A mismatch can damage the cylinder-head threads. Small differences matter.
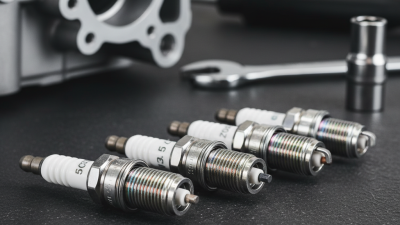
Reach is the distance from the plug’s seat to the end of its threaded section. Too much reach can expose threads inside the chamber; too little may leave the spark poorly positioned. Also match the seat style, such as gasket or tapered. It is easy to overlook this detail when comparing parts on a workbench.
Tip: Confirm the specified gap with a wire gauge before installation. A gap that is too wide or narrow can affect starting and performance. Adjust it gently, especially on plugs with delicate center electrodes. Check the engine’s stated specification rather than guessing from a general chart. I would not assume a new plug is perfectly set; that small check can save a frustrating misfire later. Install plugs with the engine cool, and follow the specified tightening method.
7 Tips for Choosing the Right Spark Plugs?
A suitable spark plug must match your engine, not just fit the socket. Check the owner’s manual for the specified plug type, thread size, reach, heat range, and electrode gap. Small details matter. A plug with the wrong reach may not seat correctly, while an unsuitable heat range can affect performance. If specifications are unclear, confirm them with a qualified mechanic.
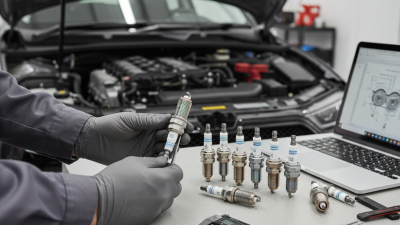
Compare construction and quality, but avoid assuming the most expensive option is automatically best. Look for clear specifications, consistent manufacturing, and packaging that protects the electrode. Inspect each plug before installation. Cracked ceramic, damaged threads, or a bent electrode are reasons to stop and check. Check the gap only when the manufacturer’s instructions allow adjustment; some fine-wire electrodes can be damaged by careless handling.
Replacement needs depend on plug material, engine design, mileage, and driving conditions. Follow the service interval in your vehicle’s maintenance schedule, and note rough idling, hard starts, or reduced fuel economy. These symptoms can have other causes, too. Don’t replace plugs by guesswork alone. When removing old plugs, compare their deposits and wear, but remember that color is only one clue. A quick phone photo of the original layout can help you keep track during a repair. I’d still verify the torque specification before tightening; “snug” is not a reliable measurement.
| Tip | What to Compare | Practical Guidance | Replacement Consideration |
|---|---|---|---|
| 1. Confirm exact engine compatibility | Vehicle year, make, model, engine, and the specified plug part number or application details. | Check the owner’s manual or a reliable application catalog. A plug that physically fits may still have the wrong reach, seat, heat range, or electrical design. | Recheck compatibility whenever the engine has been modified or its original specifications are uncertain. |
| 2. Match thread size, reach, and seat | Thread diameter and pitch, threaded reach, and seat type (such as gasket or tapered). | These dimensions must match the cylinder head. Incorrect reach or seat design can cause poor sealing or engine damage. | Do not select a replacement based on appearance alone; verify the full specification before installation. |
| 3. Use the specified heat range | The manufacturer’s recommended heat range for the engine and its operating conditions. | Heat range describes how quickly a plug transfers heat from its firing end to the cylinder head. It is not a measure of spark strength; avoid changing it without a sound application-specific reason. | Use the specified range for routine replacement. Investigate persistent deposits or overheating rather than trying an unapproved range. |
| 4. Compare electrode materials and construction | Electrode design and materials, including conventional nickel-alloy, platinum, or iridium options. | Different designs have different service-life characteristics. Choose a type approved for the engine; an upgrade is not automatically compatible or beneficial. | Follow the interval specified for the exact plug and engine. Longer-life designs may last longer, but they do not eliminate inspection or scheduled service. |
| 5. Verify the spark plug gap | The gap between the center and ground electrodes and the engine’s specified gap setting. | Use the vehicle specification, not a universal gap value. Check the gap even on plugs described as pre-gapped; adjust only as directed and avoid applying force to delicate fine-wire electrodes. | Replace plugs that are cracked, badly worn, or cannot be set to specification safely. |
| 6. Look for consistent manufacturing quality | Undamaged ceramic, straight electrodes, clean threads, and accurate, consistent dimensions. | Inspect each plug before installation. Avoid plugs with chipped insulation, bent electrodes, damaged threads, or visible defects. | Replace a damaged plug rather than attempting to install it. Use the specified installation method and torque to help prevent leaks or thread damage. |
| 7. Base replacement timing on the service schedule and condition | The maintenance schedule, mileage or time interval, and any inspection findings or engine symptoms. | There is no single replacement interval for every vehicle. Misfires, hard starting, or poor running can have causes other than spark plugs, so diagnose the underlying issue. | Follow the vehicle manufacturer’s interval and inspect plugs when appropriate. Replace as a set when recommended, and correct oil or coolant fouling causes before fitting new plugs. |